Carnival is just around the corner and you are looking for a simple but creative idea for a custom costume? With a DIY carnival mask to cut out and paint, you can create a unique accessory in no time!
Materials you need:
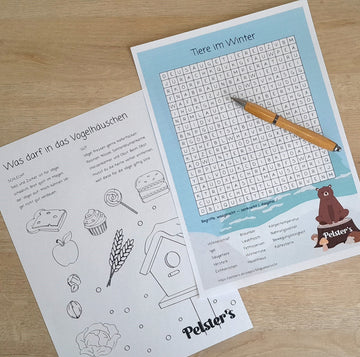
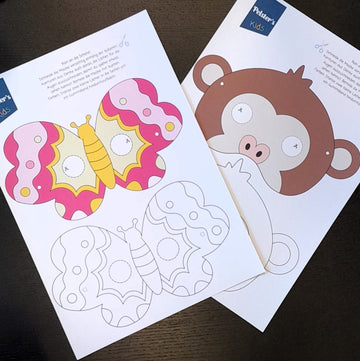
- ✂️ The mask template printed on thin cardboard for cutting out
- ➡️ to the carnival masks
- ✂️ Scissors or cutter knife
- ✂️ Pens, watercolors or acrylic paints
- ✂️ Glitter, stickers or other decorative elements
- ✂️ Rubber band or a wooden stick to hold the mask
- ✂️ Glue or a hot glue gun
Step-by-step instructions:

-
1. Cutting: Print the template on thin cardboard and carefully cut out the mask along the contours. Alternatively, you can print the mask on paper and then stick it onto cardboard. Make sure to cut the eye holes precisely so that you can see well later.

- 2. Design: Let your creativity run wild! Paint the mask with bright colors, draw patterns or decorate it with glitter and stickers.

- 3. Let it dry: If you have worked with paints, let your mask dry thoroughly before you continue working on it.

- 4. Attach the fastener:
Tips for special effects:
✨ Use metallic colors for a classy look.
🎭 Glue on feathers or sequins to spice up the mask.
🌟 Draw with fluorescent paints or use UV paint for a wow effect in black light.
Conclusion: Your individual carnival mask
With this simple DIY idea, you can quickly and easily create a unique mask that goes perfectly with your carnival costume. Whether for children or adults - making it is fun and will be a real eye-catcher at any party or carnival parade. Have fun designing and celebrating! 🎉🥳
Have you made a mask yet? Share your creations in the comments!